Monetizing your website is an important component of internet companies in the digital age. If you use WordPress, you surely already know how vital it is to carefully place ad blocks in key posts to maximize your earnings. We’ll walk you through the steps in this article to properly show ad blocks in selected posts on your WordPress website.
Understanding the Importance of Ad Blocks
Ad blocks play a crucial role in generating revenue from your website. They offer a great opportunity for you to earn money by promoting products, services, or even displaying affiliate links. However, the key to success lies in knowing how to strategically place these ad blocks.
Install and activate the plugin “Code Snippets“
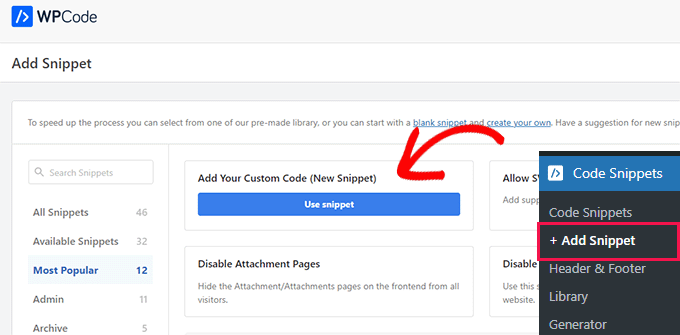
Upon activation, head over to the Code Snippets » + Add Snippet page in the WordPress admin sidebar.
From here, you need to click on the ‘Use Snippet’ button under the ‘Add Your Custom Code (New Snippet)’ option.
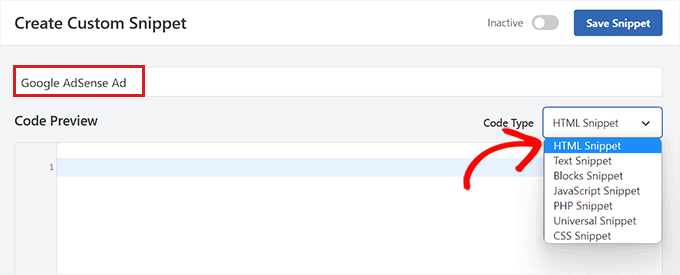
This will take you to the ‘Create Custom Snippet’ page, where you can start by typing a name for your code snippet. The code snippet title is only for your reference and won’t be shown to users on the website’s front end.
After that, you need to select ‘HTML Snippet’ as the code type from the right dropdown menu.
Read Also: How to Create Term & Condition Generator Tool
Next, you need to choose the type of ad you want to place on your site.
However, if you are creating your own ad, then you will need to get the code from the person who is paying you to show the ad on your site or write your own code.
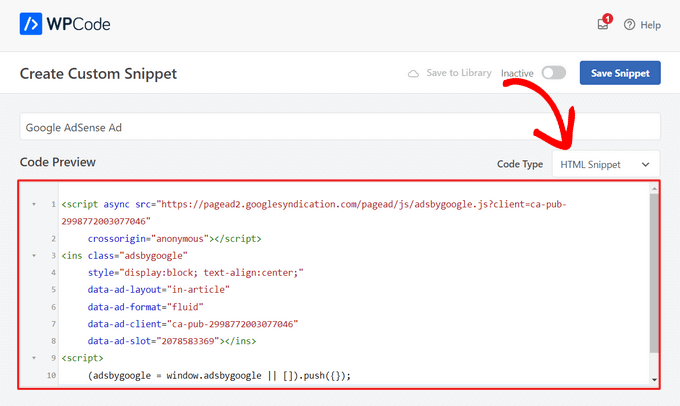
Upon getting your ad code, simply copy and paste it into the ‘Code Preview’ box.
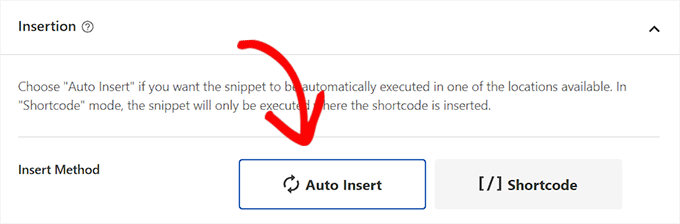
Once you have done that, you must scroll down to the ‘Insertion’ section and choose the ‘Auto Insert’ mode.
The ad will automatically be displayed in the specific post you choose.
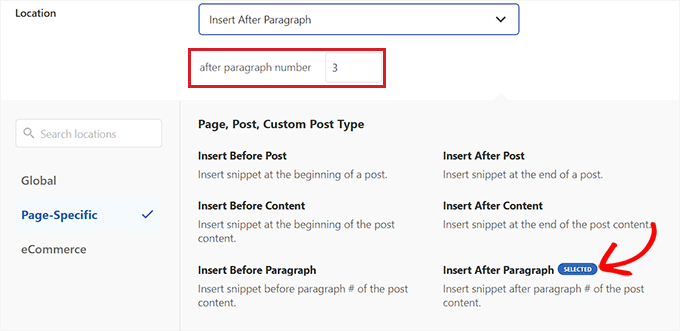
Next, click on the ‘Location’ dropdown menu to expand it, and then select the ‘Page-Specific’ tab from the left sidebar.
From here, choose the ‘Insert After Paragraph’ option.
You can also modify the number of paragraphs after which you want to insert the snippet.
For example, if you want to display the ad block after the 3rd paragraph, then you can type this value into the ‘after paragraph number’ box.
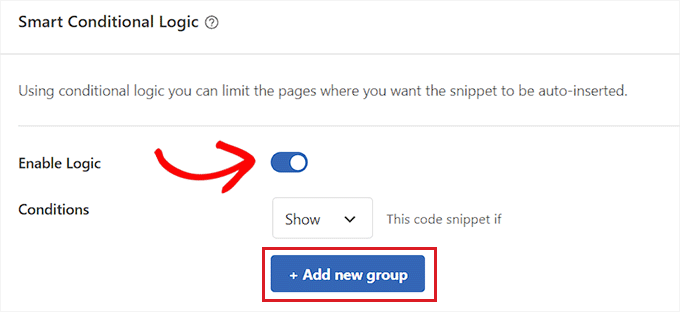
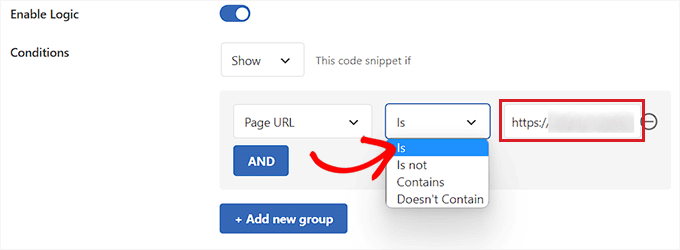
Next, scroll down to the ‘Smart Conditional Logic’ section and toggle the ‘Enable Logic’ switch to Active.
After that, make sure that the ‘Show’ option is selected for the code snippet condition. Once you have done that, just click the ‘+ Add new group’ button.
This will open up some new settings in the ‘Smart Conditional Logic’ section.
From here, you need to select the ‘Page URL’ option from the dropdown menu on the left.
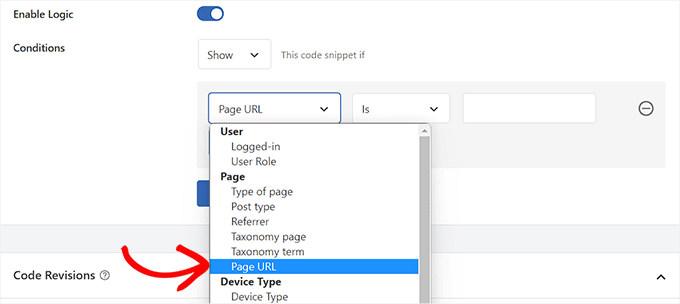
After that, you must select the ‘Is’ option from the dropdown menu in the middle.
Next, add the URL of the specific post where you want to display the ad block into the empty field in the right corner of the screen.
If you want to display this ad on more than one page or post, just click ‘AND’ and then follow the same process to insert the other post URL.
Once you have created this conditional logic, your ad block will only be displayed in that specific WordPress post.
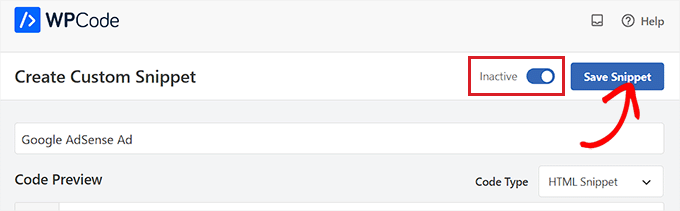
Now, scroll back to the top and toggle the ‘Inactive’ switch to ‘Active’.
Finally, click the ‘Save Snippet’ button to execute the ad code on your website automatically.
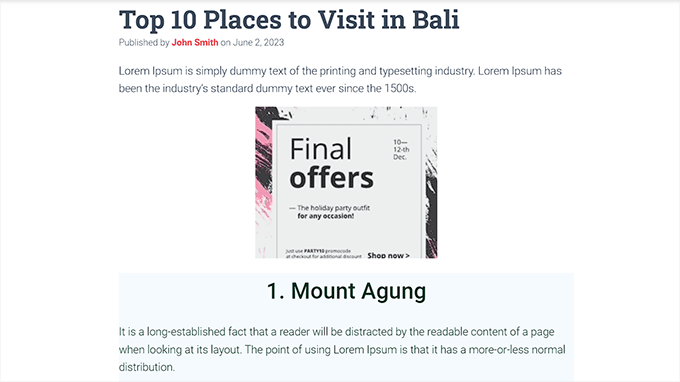
Now, you can visit the specific post you chose to see the ad block in action.
This is what it looked like on our demo website.
Conclusion
Effectively displaying ad blocks in specific posts on your WordPress website can significantly boost your revenue. Whether you choose to use a plugin or do it manually, the key is to ensure that your ad strategy is both targeted and successful. Maximizing your ad revenue while providing valuable content to your readers is the ultimate win-win situation for any website owner.